I have walked into countless homes where the homeowner spent weeks choosing the perfect tile — beautiful porcelain, stunning natural stone, the exact colour and texture they envisioned — only to have it installed in a way that completely undermines its potential. The tile was gorgeous. The layout was an afterthought. And the result was disappointingly ordinary.
Here is the truth most tile installers will not tell you: the layout is more important than the tile itself.
Pattern Direction Changes Everything
Take a simple rectangular subway tile. Laid horizontally in a standard running bond, it looks fine. Classic. Expected. Now rotate that exact same tile 45 degrees into a herringbone pattern, and suddenly the entire wall has movement, depth, and sophistication. The tile did not change. The layout did.
Pattern direction affects how a space feels:
- Horizontal running bond elongates a room and creates calm, horizontal lines
- Vertical stack bond draws the eye upward, making ceilings feel taller
- Herringbone adds dynamic movement and a sense of luxury
- Chevron creates a bolder, more contemporary directional flow
- Basket weave adds texture and visual interest without competing with other elements
The Starting Point Problem
Where you begin laying tile determines where your cuts end up. Most contractors start from one corner and work across. This is efficient, but it often leaves ugly thin cuts along the opposite wall, around the vanity, or at the shower entrance — the exact places where your eye naturally rests.
At JVR Complete, I dry-lay the tile before any thinset touches the floor. I calculate the starting point so that cuts are balanced on both sides of the room, visible edges get full tiles, and thin slivers are eliminated or hidden behind fixtures.
This takes more time. It uses slightly more material. But the result is a floor that looks like it was designed, not just installed.
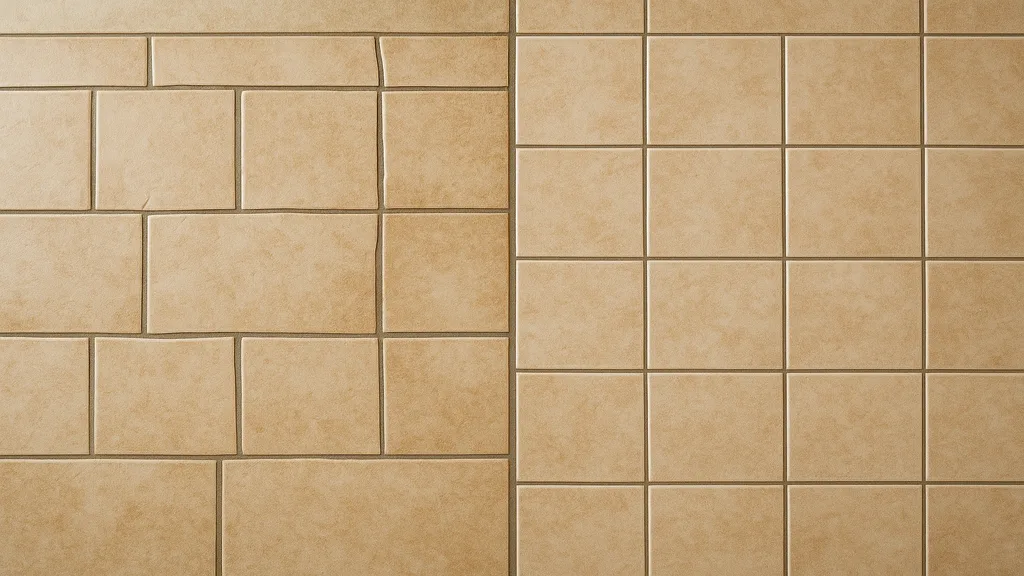
Grout Width Is a Design Decision
Grout is not just structural — it is a design element. The width and colour of your grout lines fundamentally change the appearance of your tile:
- 1.5mm grout joints with colour-matched grout create a seamless, stone-slab appearance. Ideal for large-format porcelain.
- 3mm grout joints provide a clean, modern look with enough definition to showcase each tile’s shape.
- 6mm+ grout joints with contrasting grout create a bold, graphic pattern. Common in traditional and farmhouse-style spaces.
I always discuss grout width and colour with clients during the design phase — not as an afterthought on installation day.
Focal Points and Feature Areas
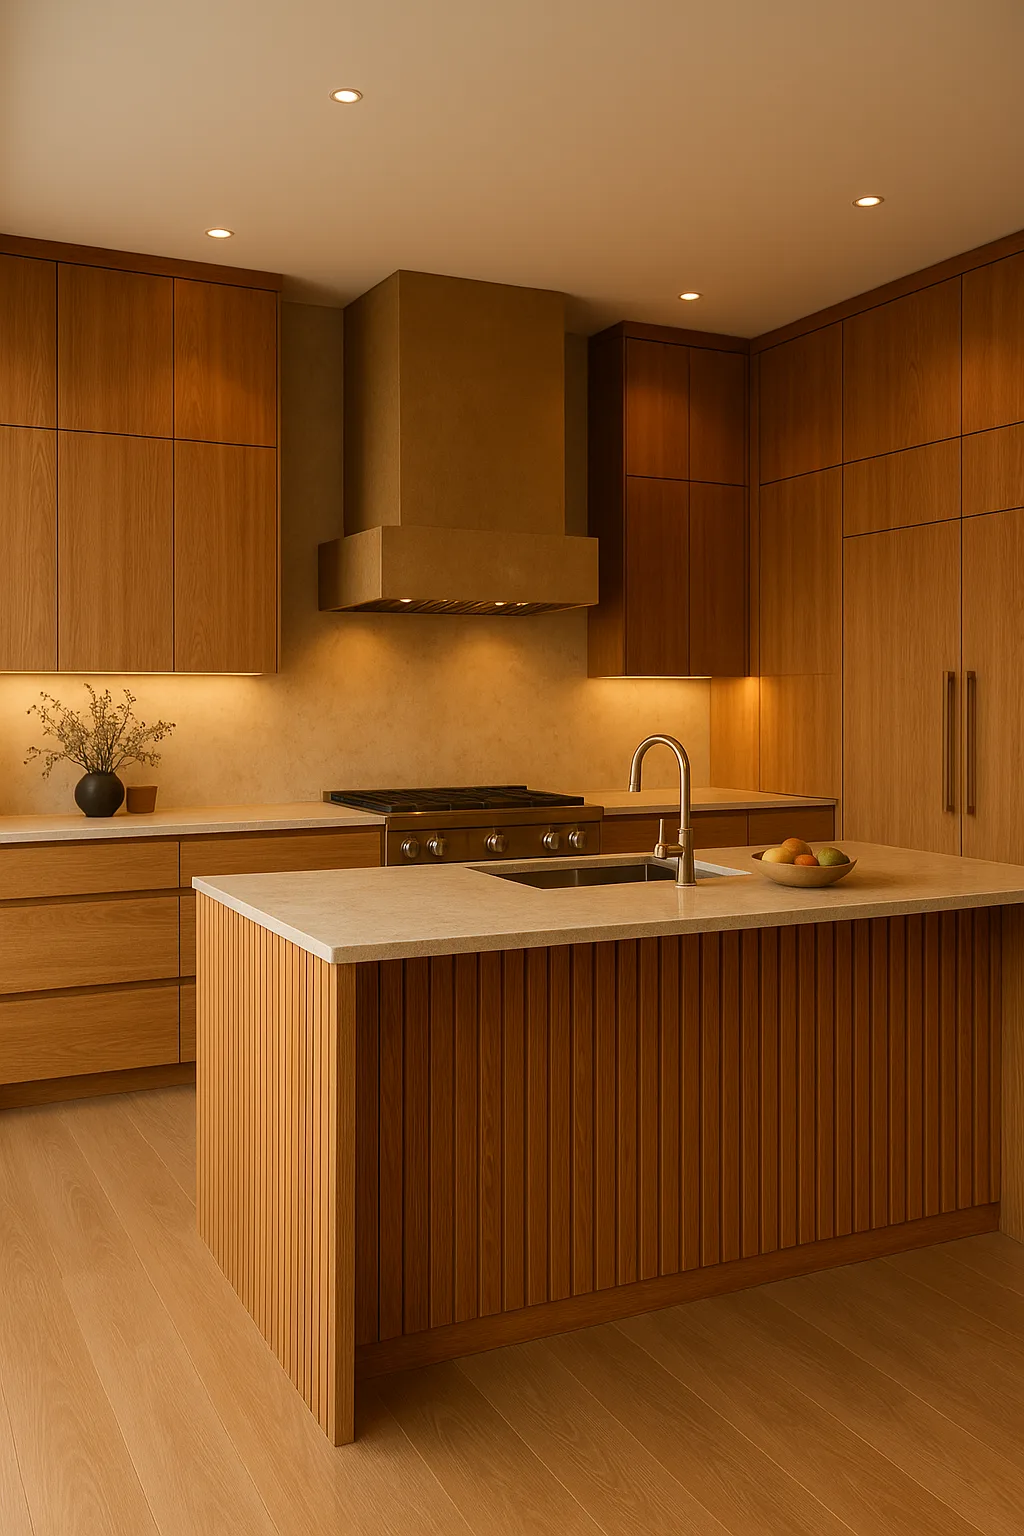
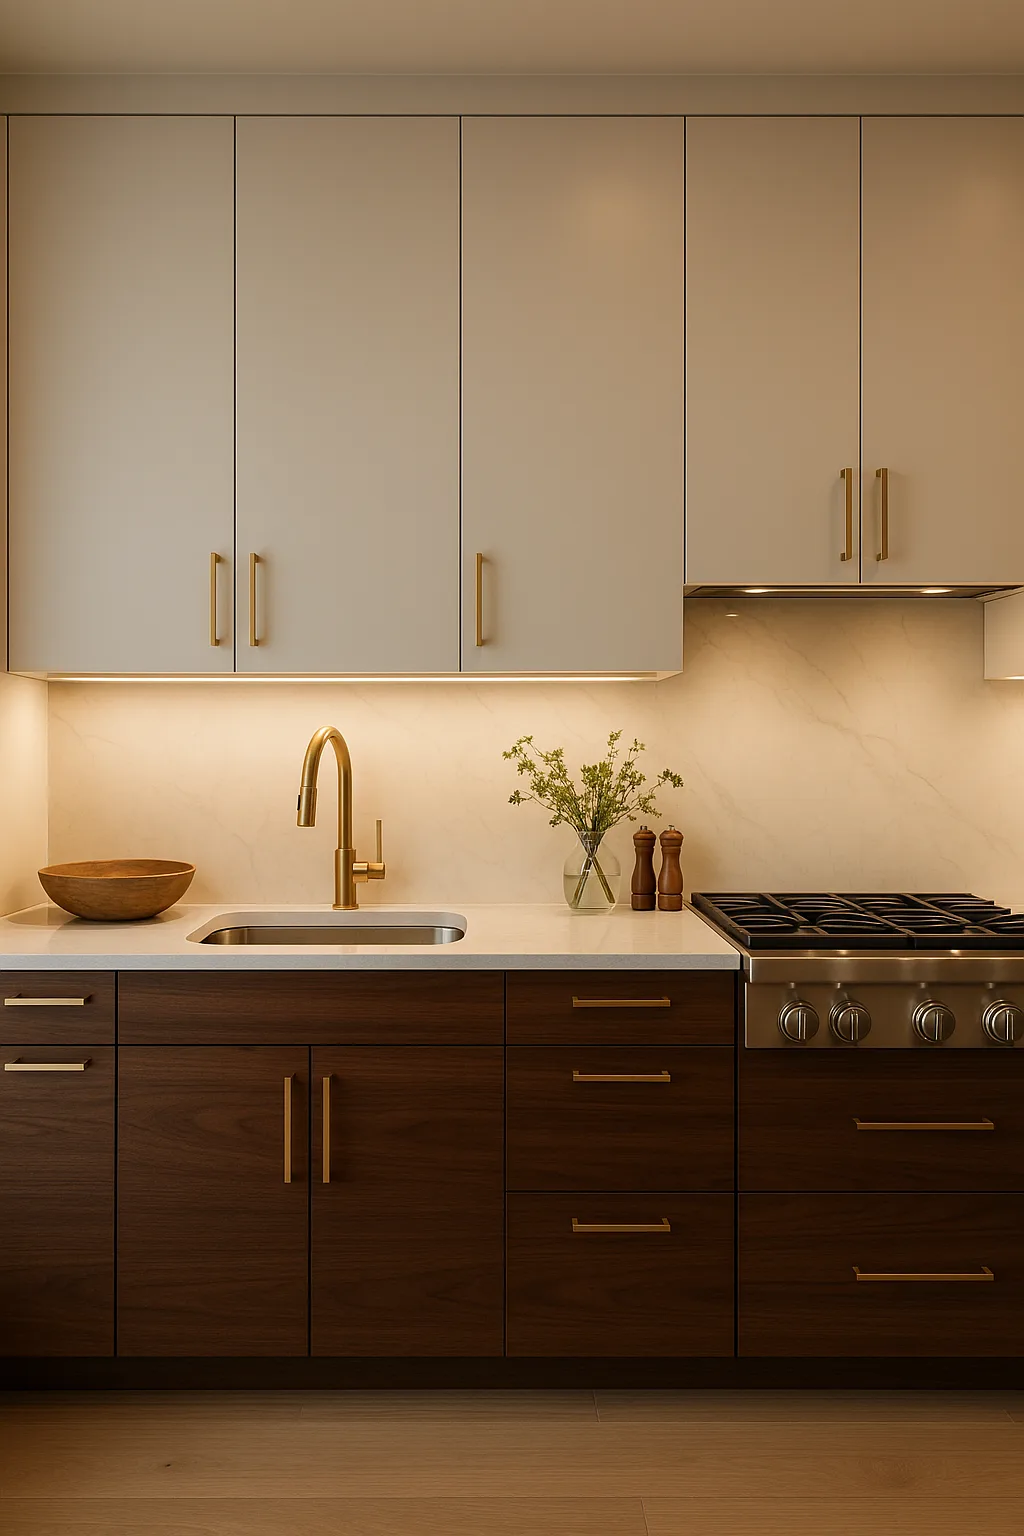
Every tiled space has focal points — the areas your eye goes to first. In a bathroom, it is the shower wall behind the fixtures. In a kitchen, it is the backsplash area behind the range. In an entryway, it is the floor directly inside the door.
These focal points deserve special treatment:
- Accent tile bands framing a shower niche
- Pattern changes at the shower floor vs. walls
- Feature walls with a different pattern or material than the surrounding surfaces
- Transition details where tile meets other flooring materials
The difference between a $15,000 tile job and a $15,000 tile job that looks like $40,000 is entirely in these design decisions.
The Waterfall Edge Detail
One detail I advocate for in almost every bathroom project is the waterfall edge on shower niches. Instead of cutting tile to meet at a 90-degree corner with a metal edge strip, I mitre-cut the tile so the pattern wraps seamlessly around the outside corner. The result is a furniture-quality detail that eliminates the cheap metal trim piece and makes the niche look integrated, not bolted on.
This technique requires precise 45-degree cuts and careful alignment, but the visual payoff is dramatic.
My Advice to Niagara Homeowners
Before you spend hours choosing the perfect tile, spend thirty minutes thinking about how it will be laid. Ask your contractor:
- Where will the cuts fall along visible edges?
- What pattern direction do you recommend for this space?
- How wide will the grout joints be, and what colour?
- Can we do a dry layout before installation begins?
- How will transitions between tile and other flooring be handled?
If your contractor cannot answer these questions with confidence and design reasoning, you may have the wrong contractor for a premium tile installation.
At JVR Complete, tile layout is not an afterthought — it is where the design begins. Get in touch if you are planning a tile project in the Niagara Region.