Clients often ask me: “What actually happens during a kitchen renovation? What does week 3 look like versus week 8?” This is a fair question, because the process is opaque to most homeowners until they are living through it.
Here is a detailed walkthrough of a recent kitchen renovation in St. Catharines, covering the full arc from first conversation to final reveal.
The Brief
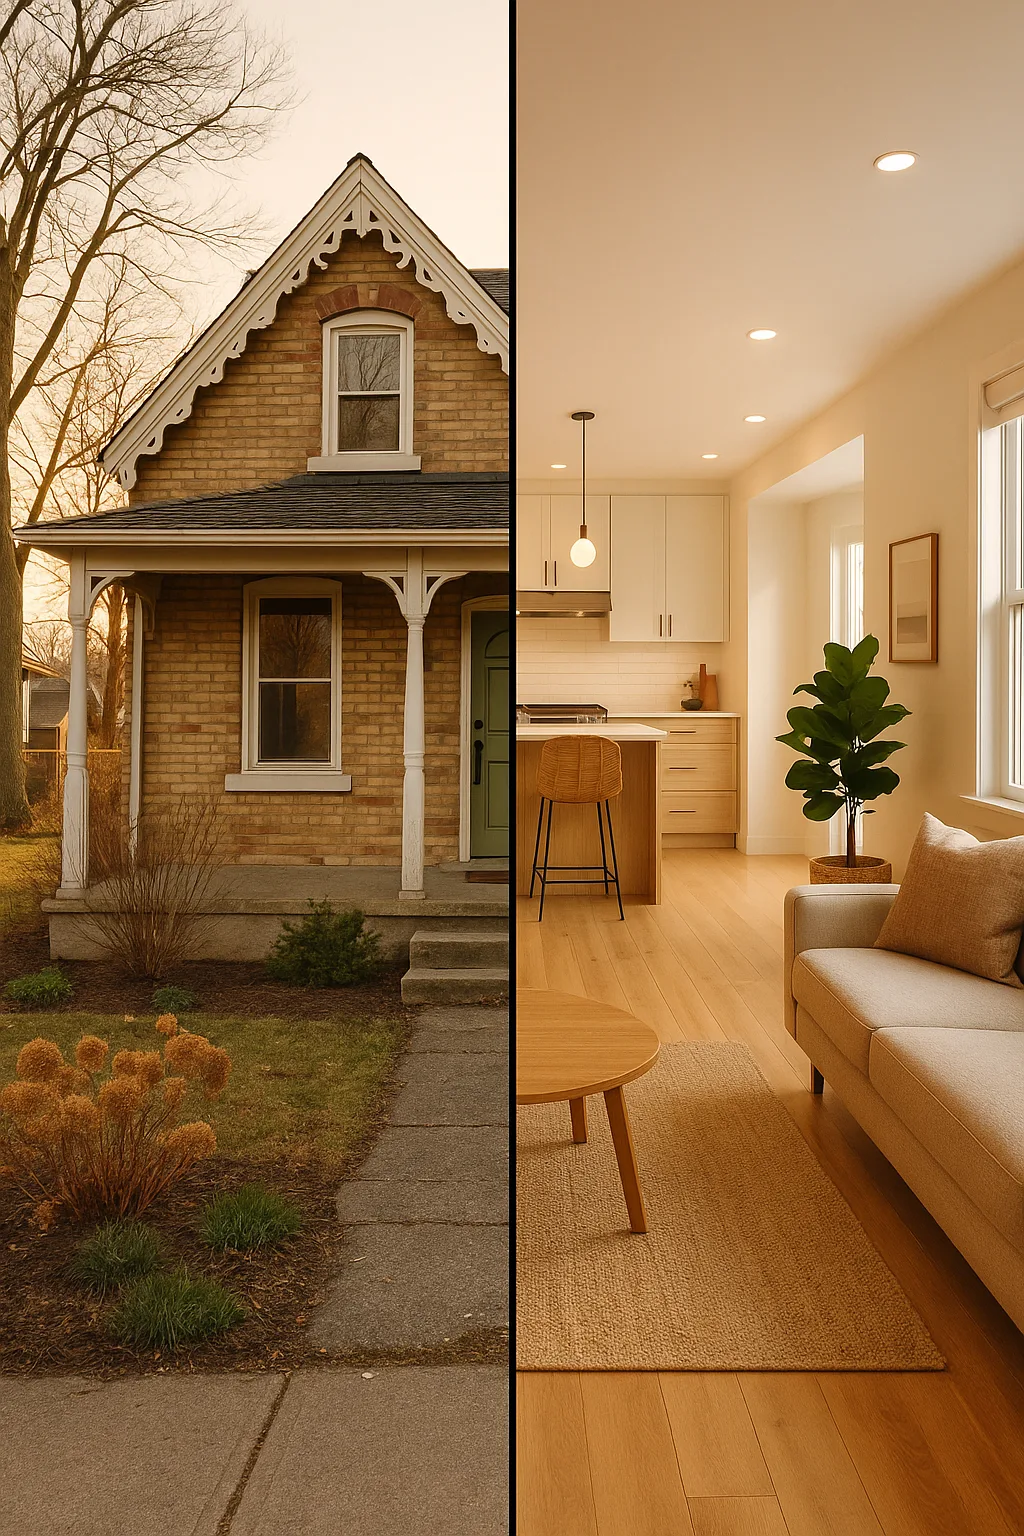
The clients — a professional couple in their early 40s — had purchased a well-maintained 1990s-era two-storey home. The kitchen was functional but dated: dark oak cabinets, laminate countertops, a small island with limited seating, fluorescent overhead lighting, and a layout that isolated the cook from the adjoining dining and living areas.
Their vision: an open, bright, design-forward kitchen that could serve as the social centre of their home. Budget: $75,000-$90,000 including all finishes, appliances, and structural work.
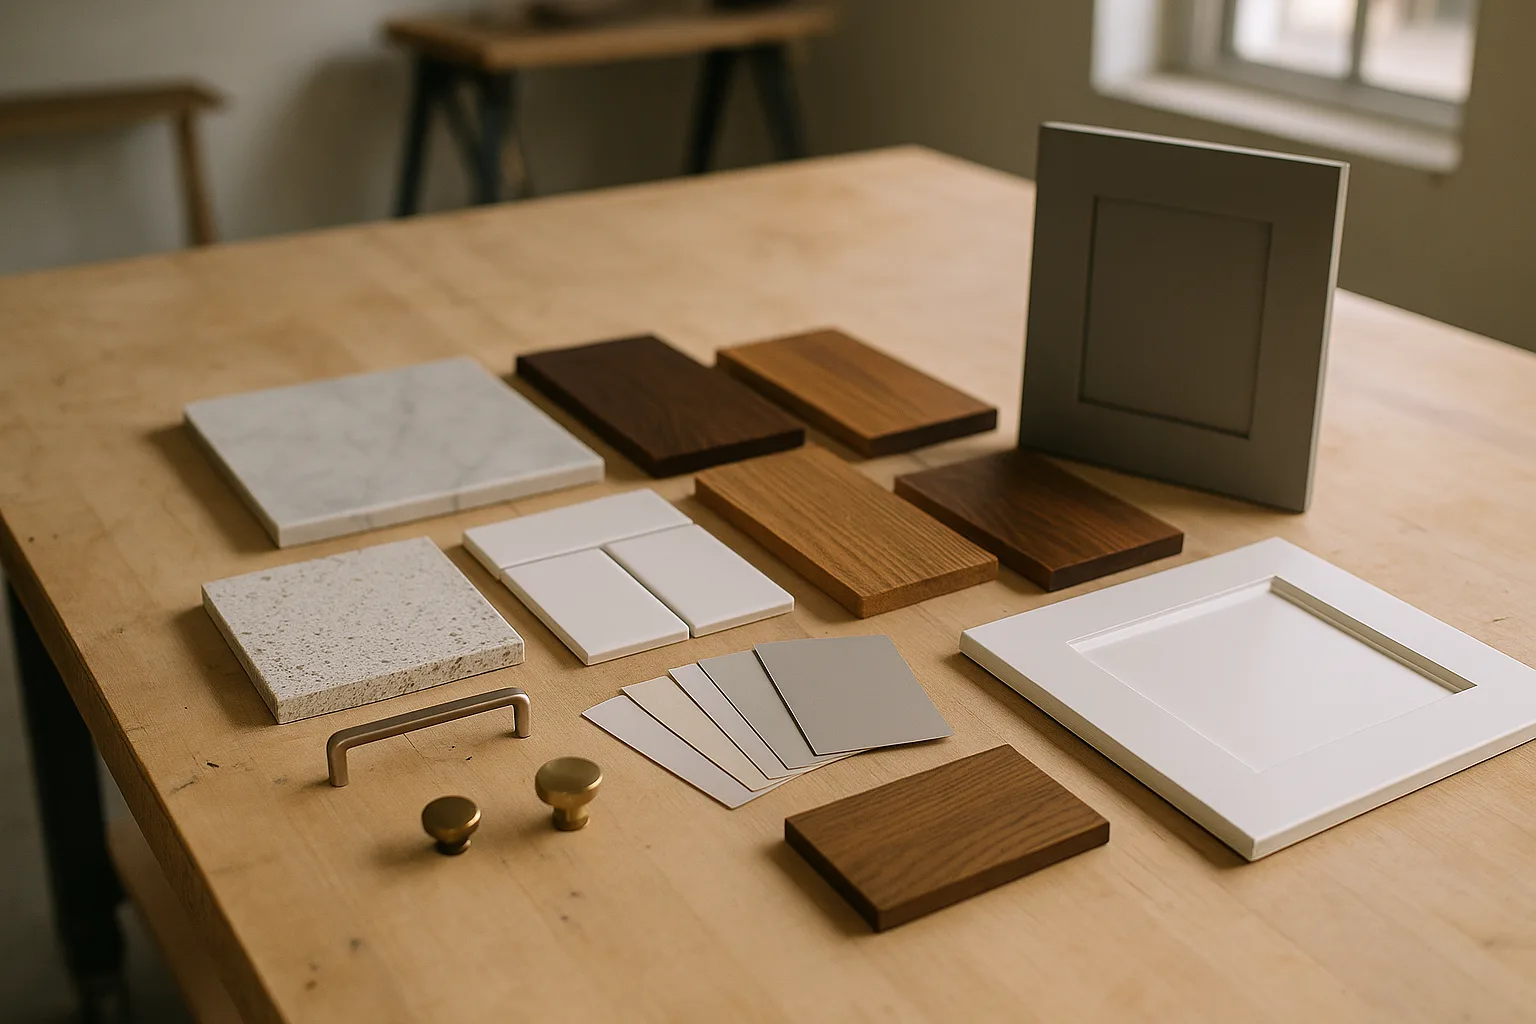
Weeks 1-4: Design and Material Selection
This is the phase most homeowners do not see, but it is where the project is truly built.
Initial Consultation
I assessed the existing space, took measurements, and discussed the clients’ priorities: more natural light, seating for four at the island, a walk-in pantry, and a cohesive connection to the dining area (currently separated by a wall).
Design Development
Over three meetings, we developed the design:
- Wall removal: The wall between the kitchen and dining room was load-bearing. I engaged a structural engineer to specify an LVL beam that would carry the load while opening the space.
- Layout: L-shaped perimeter with a large 8-foot island. The sink relocated to the island (facing the living area), the range on the back wall with a statement hood, and a dedicated pantry closet where the fridge previously stood.
- Cabinetry: Two-toned — white painted shaker perimeter cabinets with a warm walnut island. Soft-close hinges and drawer slides throughout.
- Countertops: Quartz with subtle warm veining (Calacatta-inspired pattern) on the perimeter, butcher block on the island for warmth and contrast.
- Backsplash: White marble herringbone from counter to ceiling behind the range, extending as a standard-height backsplash along the remaining perimeter.
- Hardware: Brushed brass pulls and knobs, coordinated with the brass-finished faucet and pendant lights.
Material Ordering
With the design finalized, all long-lead materials were ordered: cabinets (8-week lead time), quartz countertops (post-templating), tile, fixtures, pendant lights, and the range hood.
Building permits were filed with the City of St. Catharines.
Weeks 5-6: Demolition and Structural Work
With the permit in hand and materials confirmed in production, we began.
Day 1-3: Full kitchen demolition — cabinets, countertops, flooring, drywall on the wall being removed. Appliances disconnected and stored. The kitchen was stripped to studs.
Day 4-5: Temporary shoring installed to support the second floor while the load-bearing wall was removed. The LVL beam was hoisted into position, supported by steel post connections at each end, bearing down through reinforced floor framing to the foundation.
Day 6-7: Plumbing rough-in for the relocated sink position on the island. New drain and water supply lines run through the floor.
Weeks 7-8: Mechanical and Framing
Electrical: New circuits for the island (dishwasher, disposal, outlets), dedicated 40-amp circuit for the range, circuits for under-cabinet lighting and pendant lights. All outlets positioned according to the design plan.
HVAC: The removed wall had a cold air return that needed to be rerouted. A new return was installed in the floor near the dining area.
Framing: The pantry closet was framed. Blocking installed for the range hood and wall-mounted cabinets. The beam was wrapped with drywall to create a clean, flat soffit.
Inspection: The building inspector signed off on the framing, electrical rough-in, and plumbing rough-in.
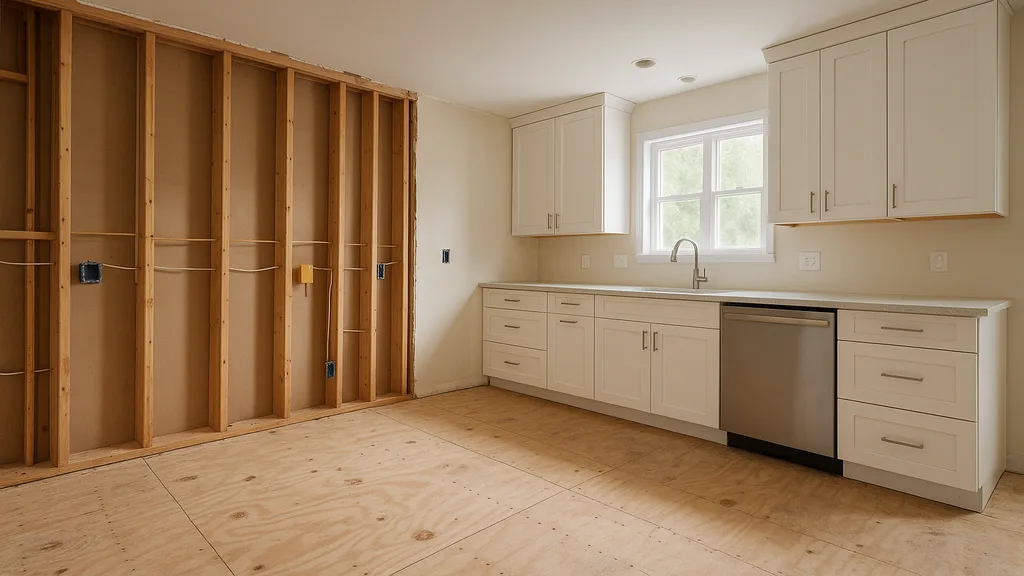
Weeks 9-10: Drywall and Prep
New drywall installed on all modified walls and the ceiling. Three coats of compound on all joints. Level 5 skim coat applied to every surface. Sanded, primed, and ready for paint.
The kitchen was beginning to take shape, but it still looked like a construction site — white walls, bare floors, and an empty room.
Weeks 11-12: Cabinets and First Paint
Cabinets arrived on schedule (a small victory in the current supply environment). Installation took three days — precisely levelled, shimmed, and secured. The white perimeter cabinets went up first, followed by the walnut island.
First coat of paint on walls and ceiling. The colour palette: warm white walls (Benjamin Moore White Dove) with the ceiling in the same shade for continuity.
Week 13: Countertops and Backsplash
The quartz fabricator templated the countertops on Monday (measuring precisely against the installed cabinets). The fabricated slabs were installed the following week — a tight 7-day turnaround that we arranged by scheduling early.
Meanwhile, the herringbone marble backsplash installation began. Each tile was precision-cut and laid with meticulous attention to pattern alignment. The full-height herringbone behind the range took two full days.
Week 14: Fixtures, Hardware, and Final Details
- Sink and faucet installed
- Dishwasher and disposal connected
- Under-cabinet LED lighting installed and wired to dimmer switches
- Three brass pendant lights hung over the island
- Cabinet hardware installed (84 individual pulls and knobs)
- Range hood mounted and ducted
- Appliances positioned and connected
- Final paint touch-ups
- Flooring transitions completed
- Professional deep clean
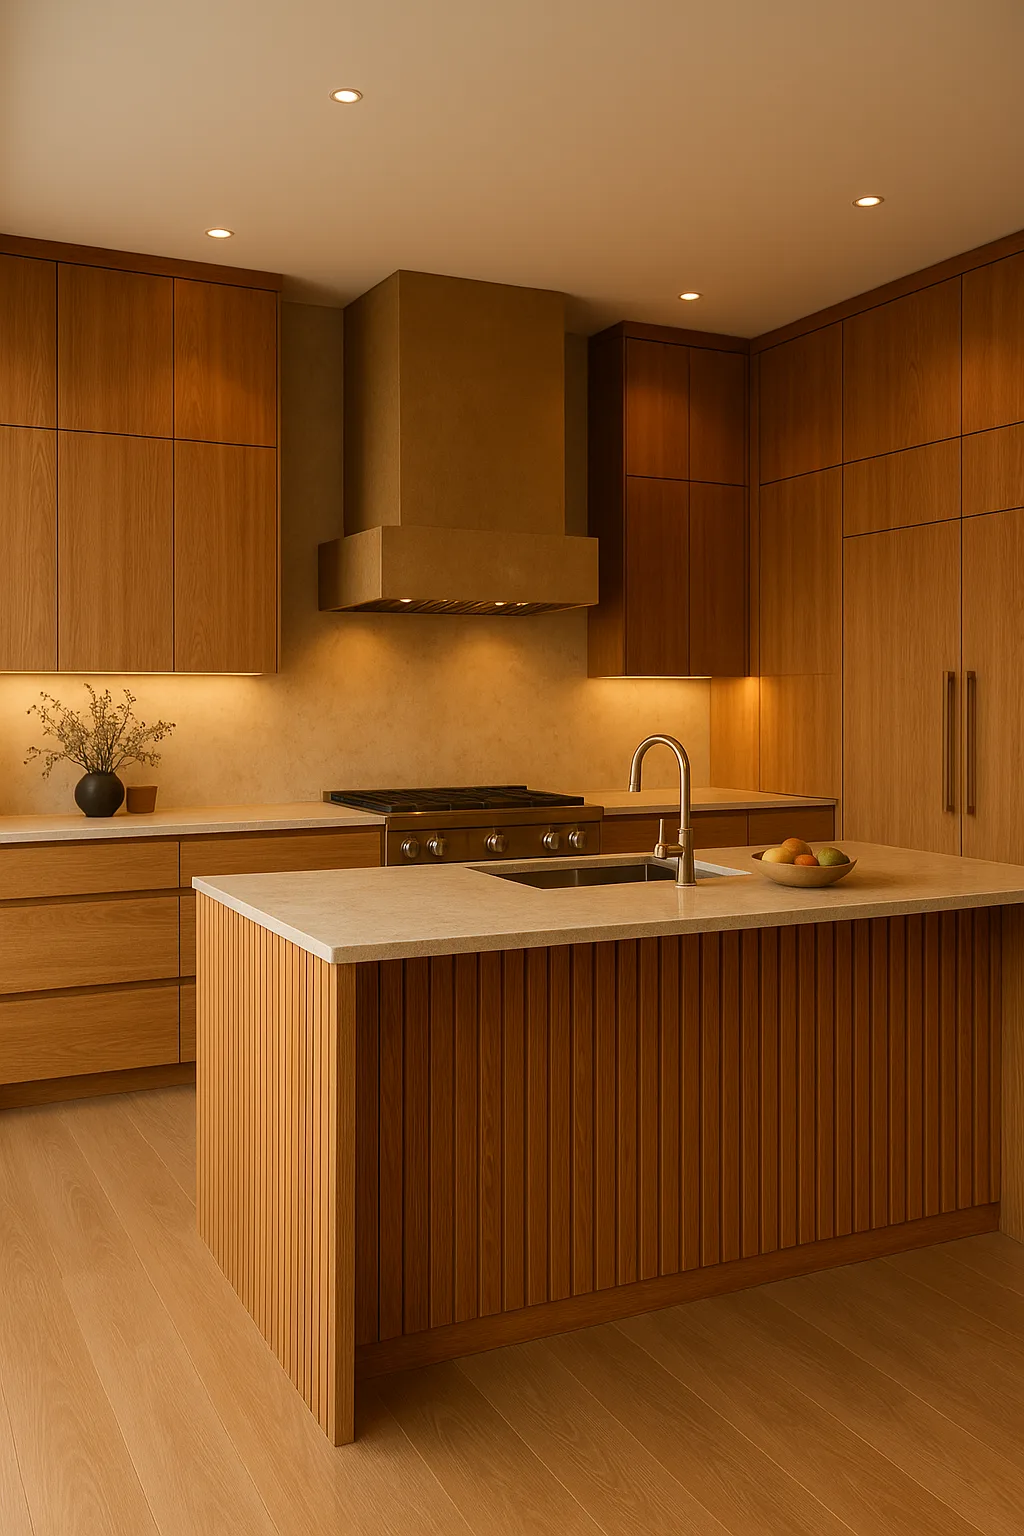
The Reveal
On a Friday afternoon, the clients walked into their kitchen for the first time in 14 weeks. The reaction was exactly what every renovator works for — genuine, unscripted amazement.
The open concept connected the kitchen to the dining and living areas. The herringbone backsplash caught the afternoon light. The two-toned cabinetry created depth and warmth. The brass hardware and pendant lights added a layer of sophistication. And the butcher block island top brought an organic, inviting warmth that balanced the cooler stone surfaces.
The Numbers
- Duration: 14 weeks (2 weeks design, 12 weeks construction)
- Final cost: $82,000 (including structural beam, all finishes, and appliances)
- Budget variance: 3% under the upper budget estimate
This is what a JVR Complete kitchen renovation looks like — from vision to reality, with design intention in every detail.
If you are ready to start your kitchen transformation, contact JVR Complete for a design consultation.